Page
Export objects from an OpenShift cluster
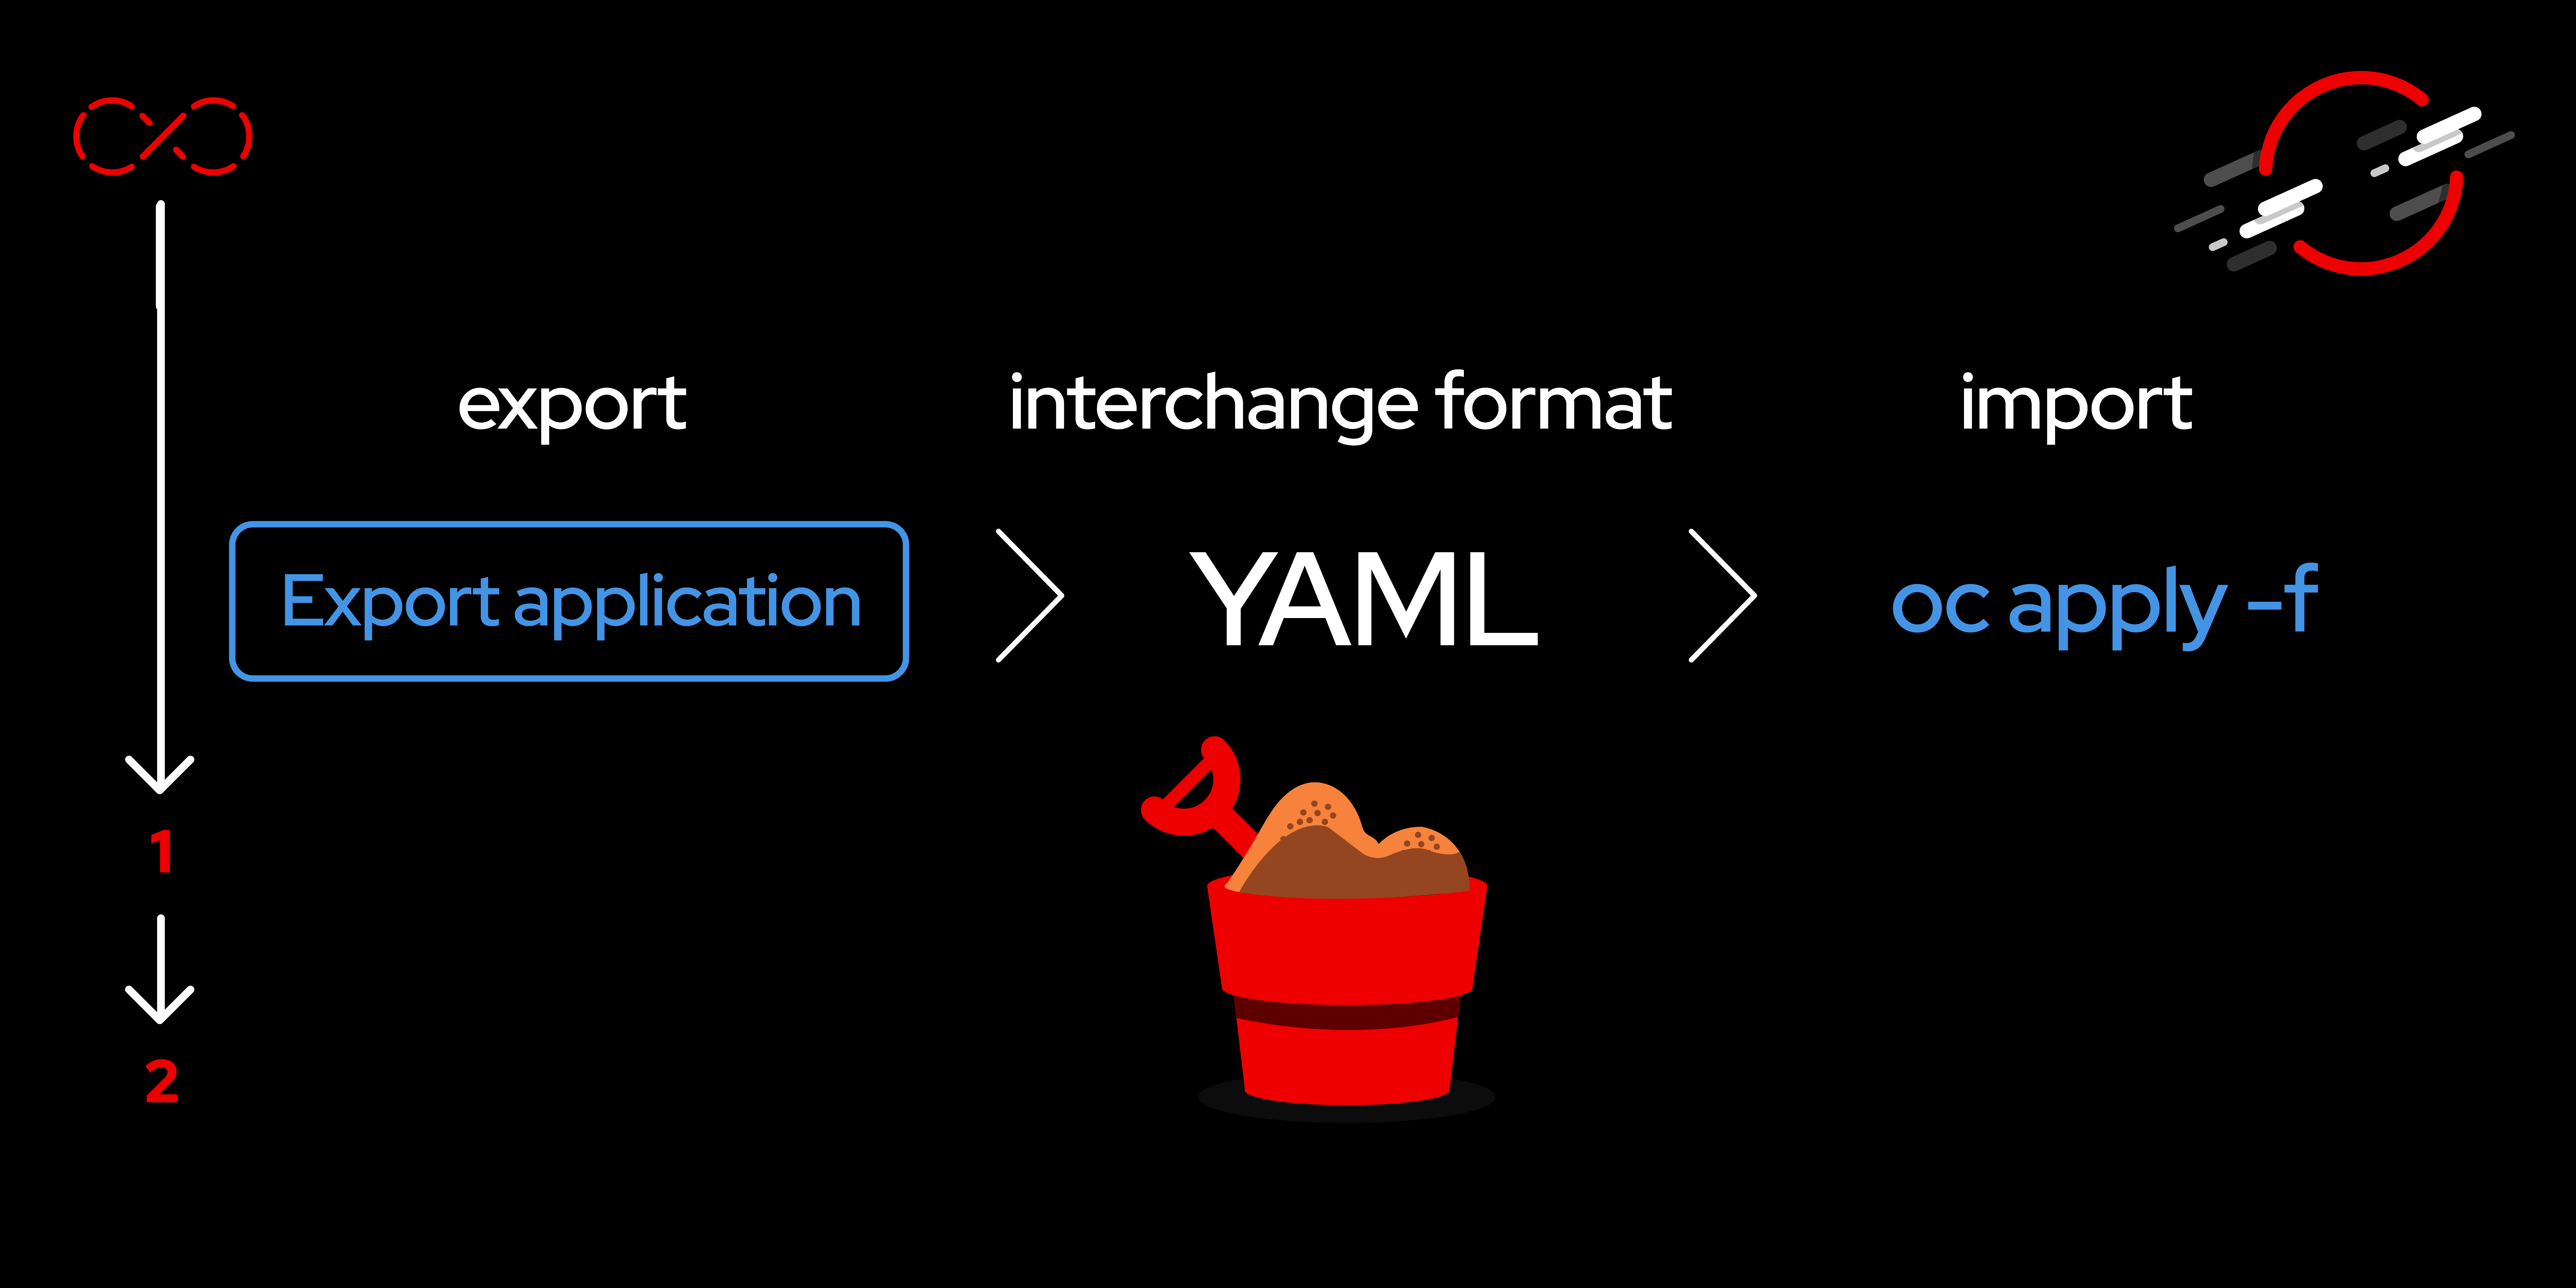
Moving objects from one OpenShift cluster to another involves exporting the objects as YAML files and then creating the objects in the target cluster.
In order to get full benefit from taking this lesson, you need to:
- Have access to the OpenShift dashboard (i.e., you are logged in).
- Have access to the command line with the
occommand (i.e., you have completed theoc logincommand).
In this lesson, you will:
- Export objects as YAML files.
- Remove unwanted objects from your YAML files.
- Import objects at the command line.
Export objects as YAML files
To start, make note of the application you wish to export; you’ll need this later.
In the Developer perspective of the OpenShift dashboard, make sure you are in the Topology view. Near the upper right corner of the dashboard, you will see the link Export application (Figure 1).
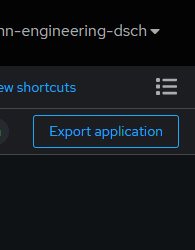
Click this Export application link to begin the process.
After a few minutes, the download link will appear. Click the download link to download your application as a zip file containing all of the YAML files to describe the resources in your sandbox cluster.
As you navigate through the download process, you will be prompted to log in and also to authorize access. Choose the default options and the Allow selected permissions option.
While the export gathers all of the resources, you’ll only want to import the objects related to your application—which you made note of at the start.
The next step is to remove objects that are not part of your application and then import the application to a cluster.
Unzip the exported objects into a directory, then navigate to that directory. You may need to go down two levels for directories to find the YAML files. There will be several YAML files, some of which are not related to your application. Inside the YAML files, a label identifies the files that are related to your application, in the form of app.kubernetes.io/part-of: {your_application_name_goes_here} Those are the files you want to import.
Remain in the directory. Log in to your cluster from the command line and run the following command (do not include the curly braces):
If using PowerShell:
Remove-Item (gci | Where-Object { !( $_ | Select-String "app.kubernetes.io/part-of: {your_application_name_goes_here}" -quiet) })Example:
Remove-Item (gci | Where-Object { !( $_ | Select-String "app.kubernetes.io/part-of: sample-app" -quiet) })If using bash shell:
grep -L "app.kubernetes.io/part-of: {your_application_name_goes_here}" * | xargs rmExample:
grep -L "app.kubernetes.io/part-of: sample-app" * | xargs rmThis will reduce the number of files in the directory from several dozen to just a few.
Import objects
You now have the YAML files associated with the OpenShift objects for your application. You can use these files to import your application to another Red Hat OpenShift cluster. You can import the objects with one command:
oc apply -f .If you don’t want to use the command line to import your YAML files, you can use the dashboard instead.
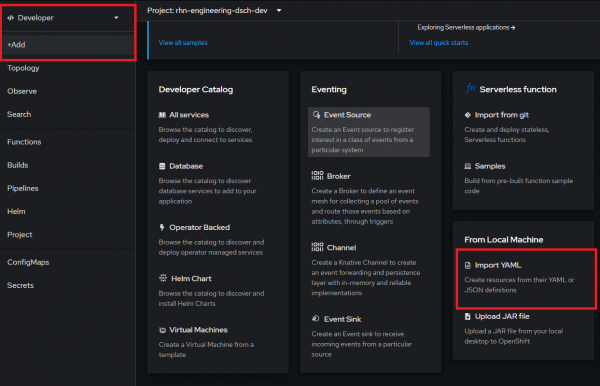
In the Developer view, choose the +Add menu choice and the Import YAML option (Figure 2).
Next, select all of the exported YAML files on your machine and drop them onto the form. Then click the Create button to build the objects (Figure 3).
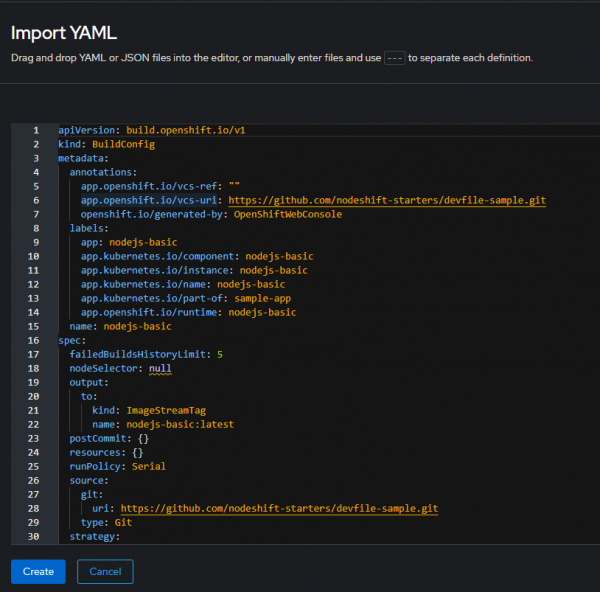
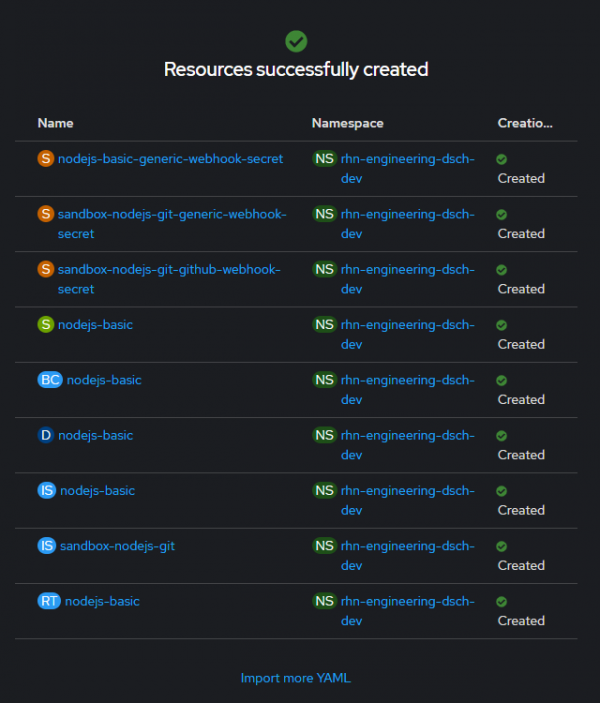
After a very brief time, the objects will be built (Figure 4).
Summary
You now know how to remove unwanted objects from your list of objects and then import the remaining objects to another cluster.
Want to learn more? Try these:
- OpenShift for Developers e-book.
- Numerous cheat sheets.
