Jenkins is one of the most popular CI/CD tools for automating builds and deployments. It is very flexible and can be deployed on almost every operating system, as well as on Red Hat OpenShift. This article shows you how to deploy Jenkins on OpenShift 4.9, create a simple pipeline to deploy a Java application to OpenShift, do some testing, save the test results as HTML, and publish it as an artifact so that people can see the results.
For this scenario, we'll generate an HTML report using Maven OWASP Dependency Check plugins. The report will contain a list of libraries that contain vulnerabilities. This pipeline runs on Jenkins 2.2 on top of OpenShift 4.9.
Use Jenkins to generate a report on OpenShift 4
There are multiple ways to set up Jenkins on OpenShift 4. This article uses a template provided by the OpenShift Developer Catalog.
First, check whether the Jenkins template is available in OpenShift:
$ oc get template -n openshift | grep jenkins
If Jenkins templates are available, you'll get output such as:
jenkins-ephemeral                               Jenkins service, without persistent storage....                                    8 (all set)       7

jenkins-ephemeral-monitored                     Jenkins service, without persistent storage. ...                                   9 (all set)       8

jenkins-persistent                              Jenkins service, with persistent storage....                                       10 (all set)      8

jenkins-persistent-monitored                    Jenkins service, with persistent storage. ...                                      11 (all set)      9
Now let's try to spawn a Jenkins ephemeral report. In this case, ephemeral means that the service is not storing its data. The ephemeral approach is good for a nonproduction environment. The following command creates Jenkins instances in the CI/CD namespace:
$ oc new-app --template=jenkins-ephemeral -n cicd
Check the created route to see the exact URL for the newly created Jenkins instances. Then open that URL and log in with your OpenShift credentials.
Building and running a pipeline
Start creating a build pipeline by selecting a Pipeline icon in your Jenkins instance, as shown in Figure 1.

Next, paste the following code into the Pipeline script, as shown in Figure 2:
node('maven') {

    stage ('pull code') {

        sh "git clone https://github.com/edwin/hello-world-java-docker.git source"

    }

    stage ('build') {

        dir("source") {

            sh "mvn -Dmaven.repo.local=/tmp/m2 org.owasp:dependency-check-maven:check"

        }

    }

	stage ('generate report') {

        dir("source") {

          publishHTML (target: [

              allowMissing: true,

              alwaysLinkToLastBuild: true,

              keepAll: true,

              reportDir: 'target',

              reportFiles: 'dependency-check-report.html',

              reportName: "Application-Dependency-Check-Report"

            ])

        }

    }

}
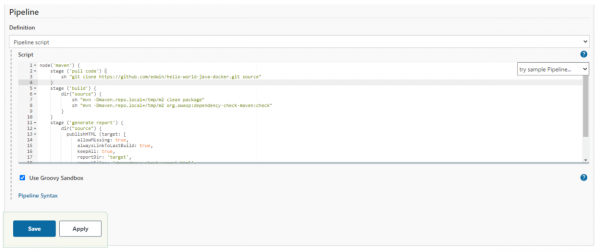
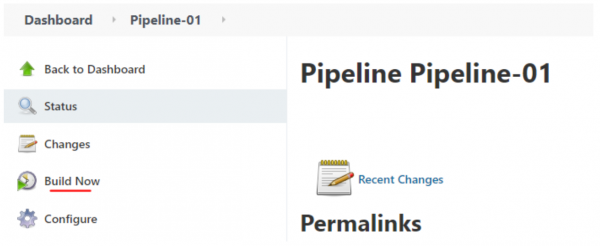
Now focus on the "generate report" stage, where you save your HTML report as a build artifact. Press the Build Now button, highlighted in Figure 3, to trigger the pipeline.
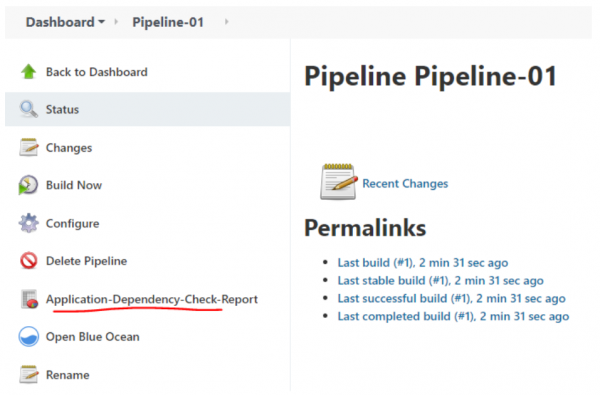
And now the HTML report appears in the menu bar on the left, as shown in Figure 4.
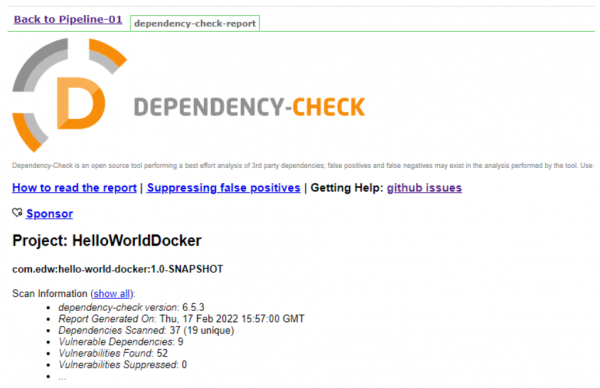
Clicking on the report button displays the contents of the generated HTML report, as illustrated in Figure 5.
If you find that your report shows some errors or is a bit disorganized, there's a workaround to fix it. Go to Script Console inside the Manage Jenkins menu, as shown in Figure 6.
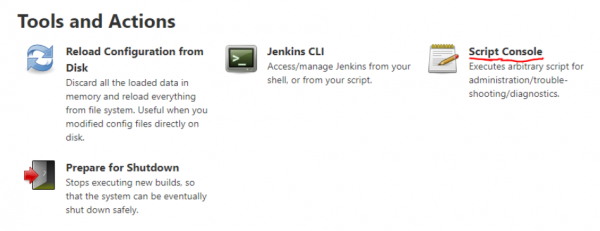
Type the following script inside the Script Console text field and then press the Run button.
System.setProperty("hudson.model.DirectoryBrowserSupport.CSP", "")
Conclusion
In addition to automating your CI/CD process, Jenkins can automate the recording of events that occur during its own run. This article has illustrated several parts of the open source environment that make it easy to generate and save reports from Jenkins.
Last updated: September 20, 2023