It is no secret that Microsoft SQL Server containers are based on Linux, and that Microsoft has seen millions of SQL Server container downloads. What is less known is that these containers are using the same SQL Server engine you use in your production environments, even if they are deployed and managed through a traditional package-based installation such as the one you might be used to on Windows, or the one Microsoft certifies on Red Hat Enterprise Linux (RHEL).
SQL Server on RHEL containers are free for development use, which makes this whole process super easy. If you are a Microsoft SQL Server developer, using containers allows you to spin up database instances with minimal overhead, this is ideal for development and testing. When you want to move to production, you can easily just backup the data from your container and restore into a production environment, even one that’s package based.
Whether you’re developing your Microsoft SQL Server applications on Microsoft Windows, or your company is standardizing on RHEL, Podman Desktop is the preferred tool for developing your SQL Server applications that are targeting the Red Hat Enterprise Linux platform. Podman Desktop helps you create, deploy and manage SQL Server containers for development. To start developing with SQL Server on RHEL containers, download Podman Desktop.
In this article, we’re going to look at just how easy it is to get up and running with all the tools we need for a SQL Server on Red Hat Enterprise Linux development environment. If you aren’t familiar with RHEL, you can visit our product page to learn more. You can also install Podman Desktop on Microsoft Windows and the experience we’re going to walk through will be identical to the one on RHEL.
Install and run Podman Desktop
For RHEL, we’ll use the following instructions to install Podman Desktop. I’ve already installed the RHEL 10 Beta release, but you can install Podman Desktop to run SQL Server containers on RHEL 8 or RHEL 9 as well. If you’re new to RHEL, or to Linux in general, you can find a variety of tips on how to work with RHEL on our getting started page.
We’ll be working from a terminal prompt to install Podman Desktop as a Flatpack via Flathub. To get started, press the Windows key (the key next to the Alt key on your keyboard) and type terminal in the search bar, then press the Enter key. At this point, the terminal (command line) application will appear. To install Podman Desktop, we enter the following at the terminal application’s command line prompt:
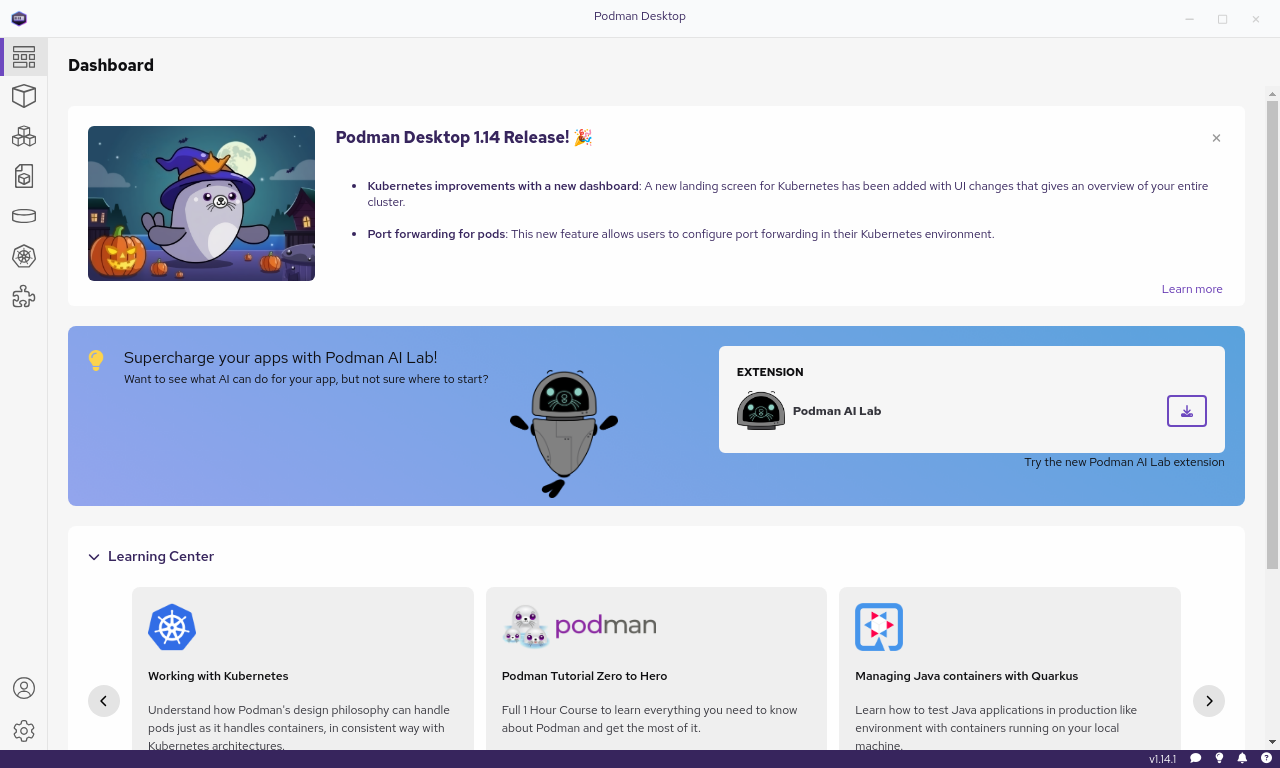
user@rhel10:~$ flatpak install flathub io.podman_desktop.PodmanDesktopOnce this process is complete, we’re ready to start Podman Desktop. Again, press the Windows key, and this time type podman into the search bar, then press Enter. The Podman Desktop application will appear, as shown in Figure 1.
Create a persistent volume
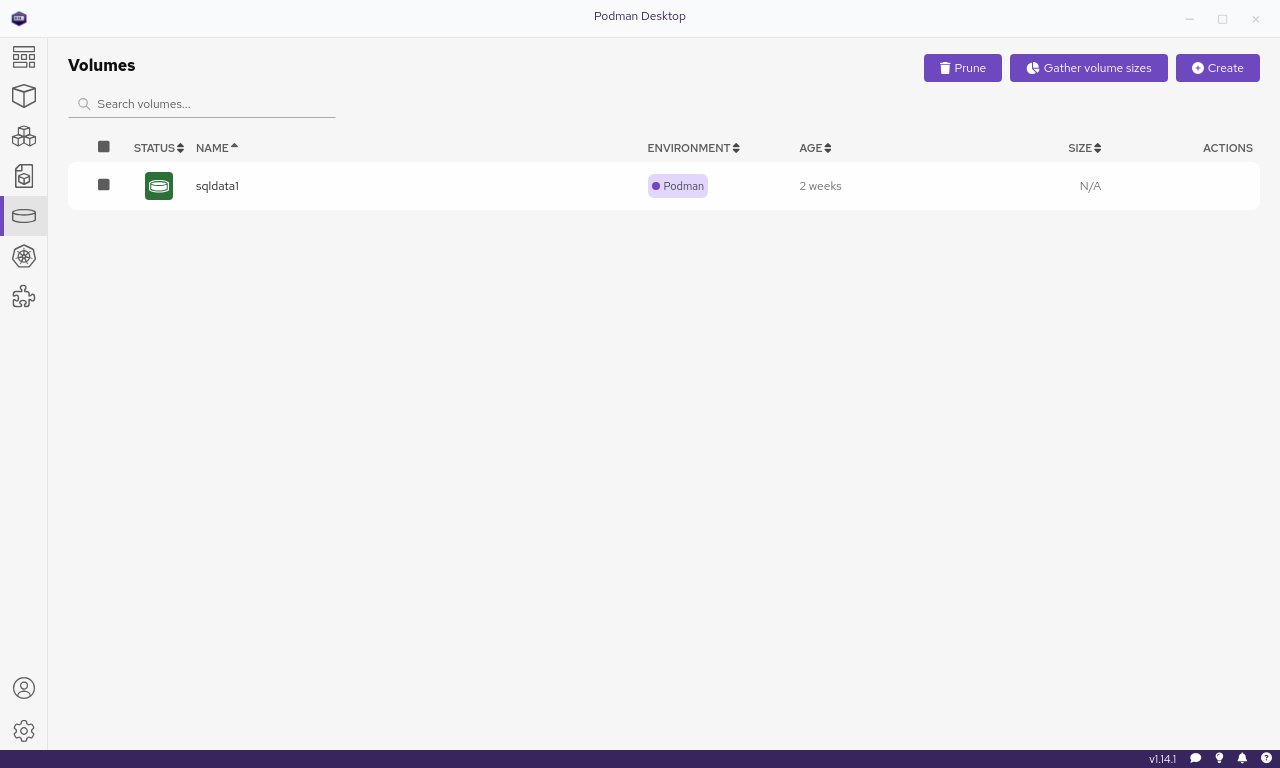
Notice a menu of icons on the left part of the Podman Desktop screen. This is the main navigation for Podman Desktop. We start by selecting the Volumes icon (fifth icon from the top). We will use this to create a persistent volume for use with our SQL Server image. From the Volumes page, select Create in the top right corner. We’ll name our volume sqldata1 and then select Done. Our new volume will be listed on the Volumes page as in Figure 2.
Persistent volumes can be beneficial with SQL Server containers. Microsoft has built in support for multiple Cumulative Updates (CUs) within SQL Server. Suppose we ever need to go back and use an older CU, or move to a newer one. In that case, the data in our persistent storage will automatically be upgraded or downgraded to work with any CU the organization we are developing for has standardized on. All we have to do is download a new container and SQL Server will take care of the rest for our persistent database code and data.
Pull the SQL Server container image
From the menu on the left, select the Images icon (the fourth icon from the top). This will take you to the Images page. Select the Pull button (on the top right of the screen), and you will be prompted to provide the path for an Image to pull down. To obtain the latest image for SQL Server 2022, use the following:
mcr.microsoft.com/mssql/rhel/server:2022-latestContainers built on RHEL can be pulled from mcr.microsoft.com/mssql/rhel/ with SQL Server 2017, 2019, and 2022 CUs. If the organization you are developing this application for has standardized on a specific update, it is super easy to just grab that update and develop with it in a native Linux environment. If your company has standardized on a specific version or CU, a list of all the variations available can be found in the Microsoft Artifact Registry.
After the image download has completed, select Done, and you will see a listing of the downloaded image on the screen (Figure 3).
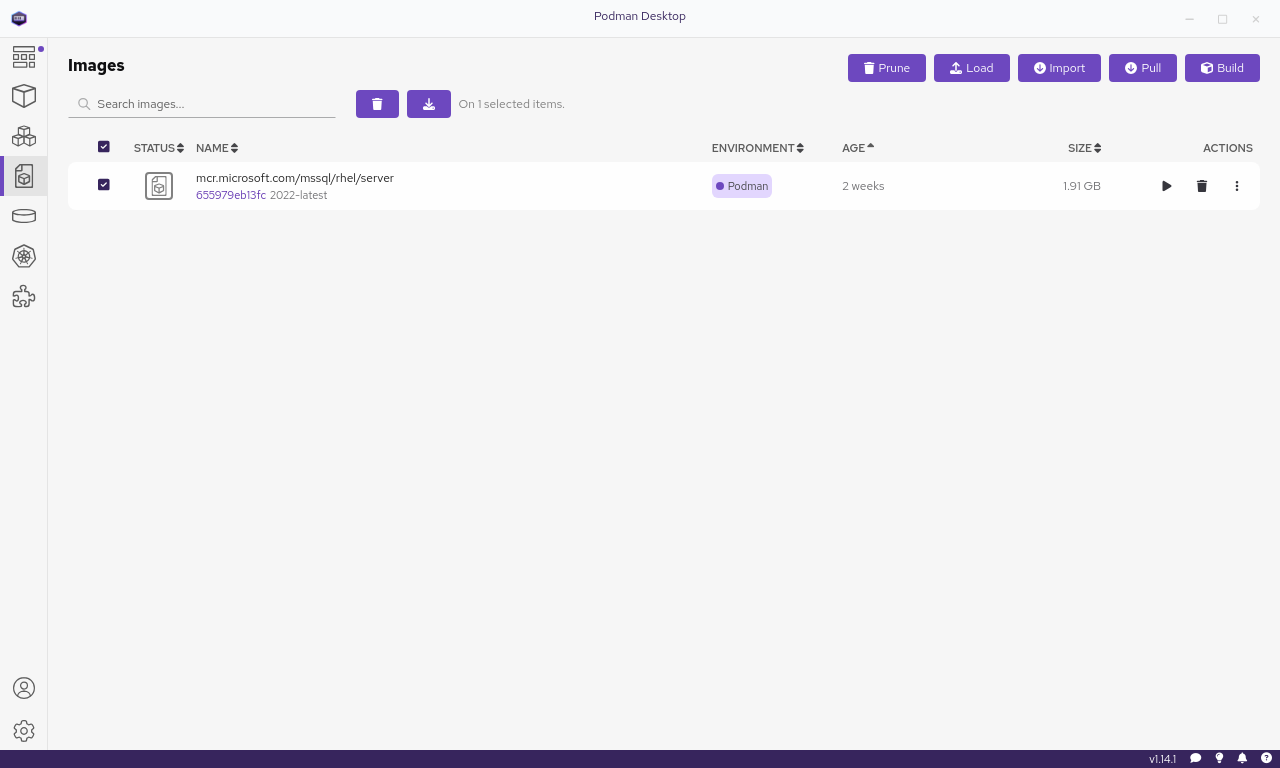
We have now downloaded the SQL Server image and we can use it to create a database instance for development.
Start the container
Select the play symbol (▶) to the right of the image. After doing so, you'll be prompted for configuration information. You can get started by providing the following:
Container name: mssql1
Entry point: /opt/mssql/bin/permissions_check.sh
Command: /opt/mssql/bin/sqlservr
Volumes:
    Path to host: sqldata1
    Path inside the container: /var/opt/mssql
Port mapping:
    Local port for 1433/tcp: 1401
Environment variables:
    Name: ACCEPT_EULA
    Value: Y
    Name: MSSQL_SA_PASSWORD
    Value: VeryStrongPassword
Select Start Container at the bottom of the screen and you’ll see the log of your SQL Server starting up, as shown in Figure 4.
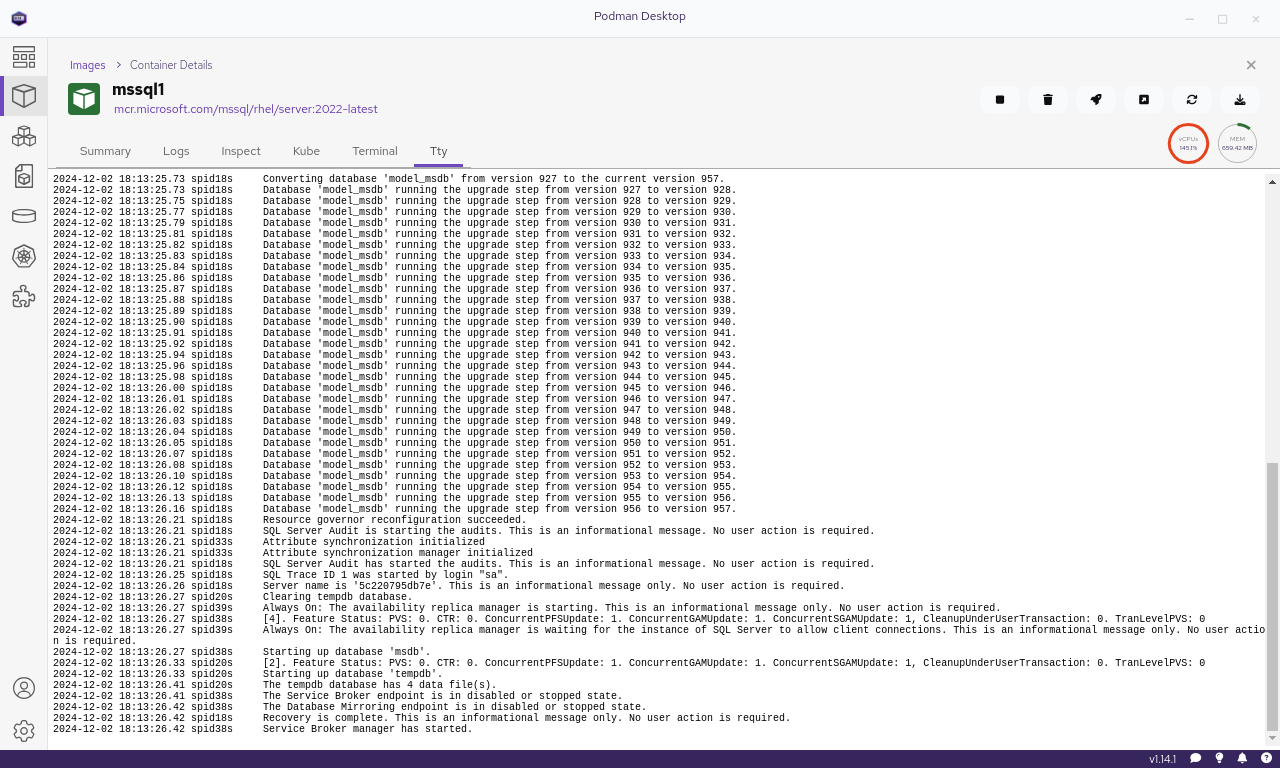
What we’ve done here is create a new container we’ve labeled as mssql1 for management purposes. The container is mapping sqldata1 volume we created earlier to store persistent data for the /var/opt/mssql directory. We’ve started this container on port 1401, which is the port you’ll use to connect to this SQL Server container using your favorite tools. When it comes to tools, pick your poison; whether you use Azure Data Studio, Visual Studio Code, or JetBrains Data Grip, these are just a few of the tools available for SQL Server database development on Red Hat Enterprise Linux.
We can develop multiple SQL Server database applications right on the same system at the same time using Podman Desktop as well. For example, alongside our mssql1 container, we could create a container called mssql2 that uses a persistent storage volume we create called sqldata2 and gets served up on port 1402.
Create a pod for containers
Podman Desktop even allows us to create a pod for our containers. Pods allow us to work with multiple containers as a single unit. They can be particularly useful where we have multiple container workloads. One common use is to have a database like SQL Server in one container and a front-end application in another. Pods are easier to manage and simplify networking between related containers; they’re the best way to develop workloads where tight container coordination is needed.
To containerize our SQL Server container, from the menu on the left, select Containers (the second icon from the top) and we will be taken to the Containers page. We then select which containers we wish to include in our pod.
In this example, we will include a .NET container and our SQL Server container. Select the Create Pod button (near the top of the screen) and we are prompted to name our pod and confirm the containers and ports we wish to expose. In this case, we choose to expose port 8080 as a web server for our .NET application, but we won’t select to expose the SQL Server port. This way, we only allow direct SQL Server connections internally within the pod. Figure 5 shows the Create Pod screen.
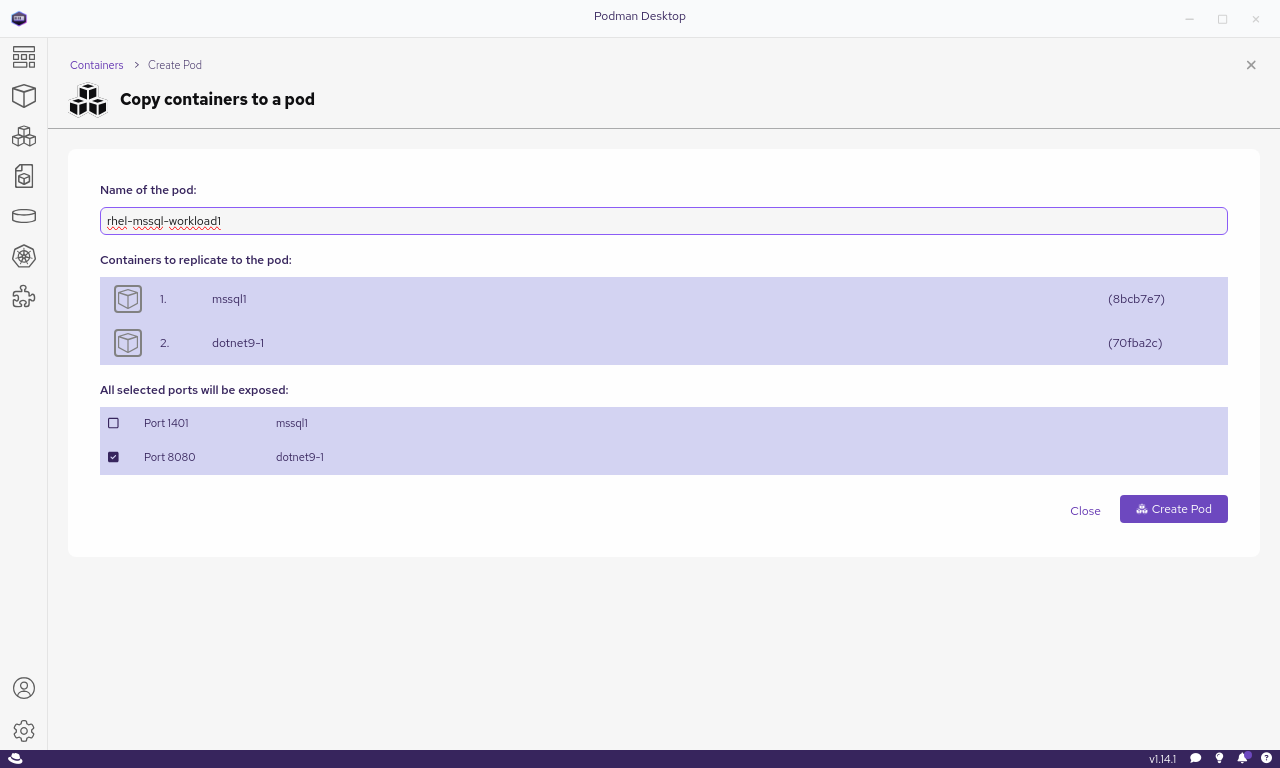
By selecting Create Pod when promoted, our rhel-mssql-workload1 pod is created with the two containers and the exposed ports we specified. We can now quickly stop, start, or restart our workload as a single entity.
Need to customize your container settings for performance? Well, remember, we’re using a persistent volume for our container. With SQL Server on Linux, most of the system-level tuning is done through the mssql-conf utility. Need to limit the amount of memory that your SQL Server container will use to 2GB? Choose the Terminal option for your container and from a prompt, enter the command:
bash-5.1$ /opt/mssql/bin/mssql-conf set memory.memorylimitmb 2048You’ll be prompted to restart your container. The easiest way to do this is to simply stop and start the container (or pod) right from Podman Desktop.
Conclusion
Podman Desktop provides an ideal way to create, deploy and manage SQL Server containers for developers and the recommended tool for development of SQL Server on RHEL applications. I strongly recommend you look at using SQL Server on RHEL containers with Podman Desktop for your next SQL Server application development project.
For more information deploying and managing SQL Server on RHEL containers in production environments, see my blog on the topic: How to deploy Microsoft SQL Server 2022 containers on Red Hat Enterprise Linux
- Download Podman Desktop to start developing with SQL Server on RHEL containers today.
