Page
Prepare the secondary hub
With the primary hub ready to go, let’s now prepare the secondary hub.
Prerequisites:
- Understand how the backup and restore operation works.
- Knowledge of how to install a hub cluster.
- The ability to enable the backup and restore component.
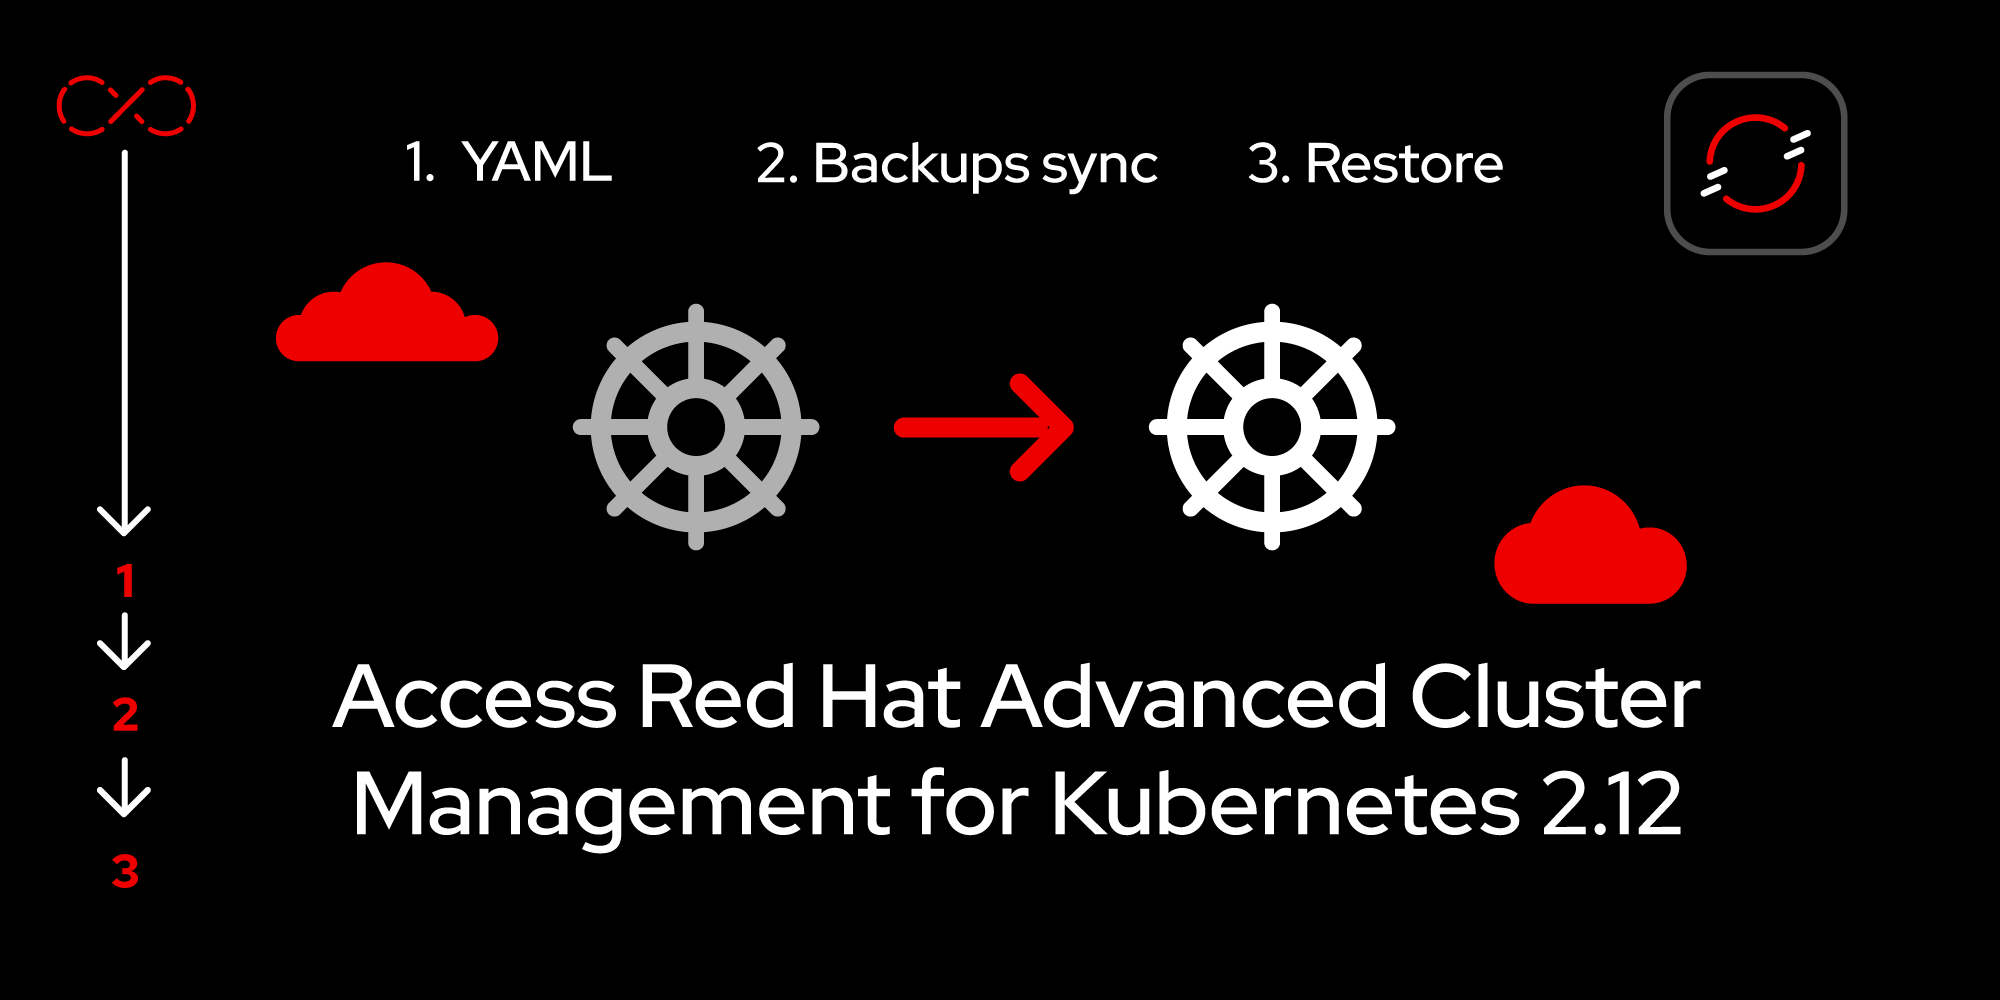
In this lesson, you will:
- Pause the backup schedule.
- Update the
DataProtectionApplicationstorage location. - Ensure the backups sync.
Pause the backup schedule
If Hub 2 has a BackupSchedule resource in Enabled state, pause it by setting the paused property to true on the BackupSchedule (Figure 1). The BackupSchedule resource has the paused property set to true.

You need to pause the backup schedule because in the next section, you must change the storage location to point to the Hub 1 storage location. That way, you can access the Hub 1 backup data.
If you don't pause the BackupSchedule on Hub 2, it will create Hub 2 backups at the Hub 1 storage location. You don’t want to back up data from Hub 2 during this process, since you are using the Hub 1 storage location.
Update the DataProtectionApplication storage location
Update the DataProtectionApplication resource on Hub 2 to point to the Hub 1 storage location. By doing this, Hub 2 can access the backups created by Hub 1.
For example, see the following YAML sample where the DataProtectionApplication resource on Hub 2 points to the Hub 1 storage location:
apiVersion: oadp.openshift.io/v1alpha1
kind: DataProtectionApplication
metadata:
 name: dpa-hub-2
 namespace: open-cluster-management-backup
spec:
 backupLocations:
   - velero:
       default: true
       objectStorage:
         bucket: vb-velero-backup
         prefix: hub-1 # this is Hub1 storage location
```
Ensure the backups sync
Ensure that the Velero BackupStorageLocation on Hub 2 has the label Phase status set to Available. Verify that you can see the latest backups created on Hub 1. Figure 2 shows an example of this.

Verify that the backups you see on Hub 2 are created by Hub 1 by looking at the clusterId labels for the backup resources. The value of the clusterId label annotation should be the clusterId for Hub 1, as shown in Figure 3.

Now that we’ve set up both hubs, we can move on to the final phase of this process: moving managed clusters between the two hubs.
