Page
Create a virtual machine

Before we start, there is one thing to make crystal clear: VMs running on OpenShift are just VMs, not VMs running in containers. This is a common misconception. The virtualization is done the same way, for example, as the now-discontinued Red Hat Virtualization worked, running the VM using the Kernel-based virtual machine (KVM) libraries. The only difference between executing a VM on a hypervisor, say Hyper-V or ESX-I, and the way in which a VM is executed on OpenShift Virtualization is the way in which the VM is controlled. The pod (called a virt-launcher) does it all. Think of the pod as a mini control plane.
In order to get full benefit from taking this lesson, you need to:
- Establish access to the Developer Sandbox.
- Have a working knowledge of Red Hat OpenShift.
In this lesson, you will:
- Log into the Developer Sandbox.
- Create a VM.
- Customize a VM.
- Set up a user.
Enough talk, let’s start actually playing with the technology. Firstly, you will need to log into the Developer Sandbox.
If you have used the Developer Sandbox before, you can log on/restart your sandbox access from here. If you have never used the Developer Sandbox, it will walk you through the process of setting up a developers.redhat.com account and creating your instance (Figure 1).
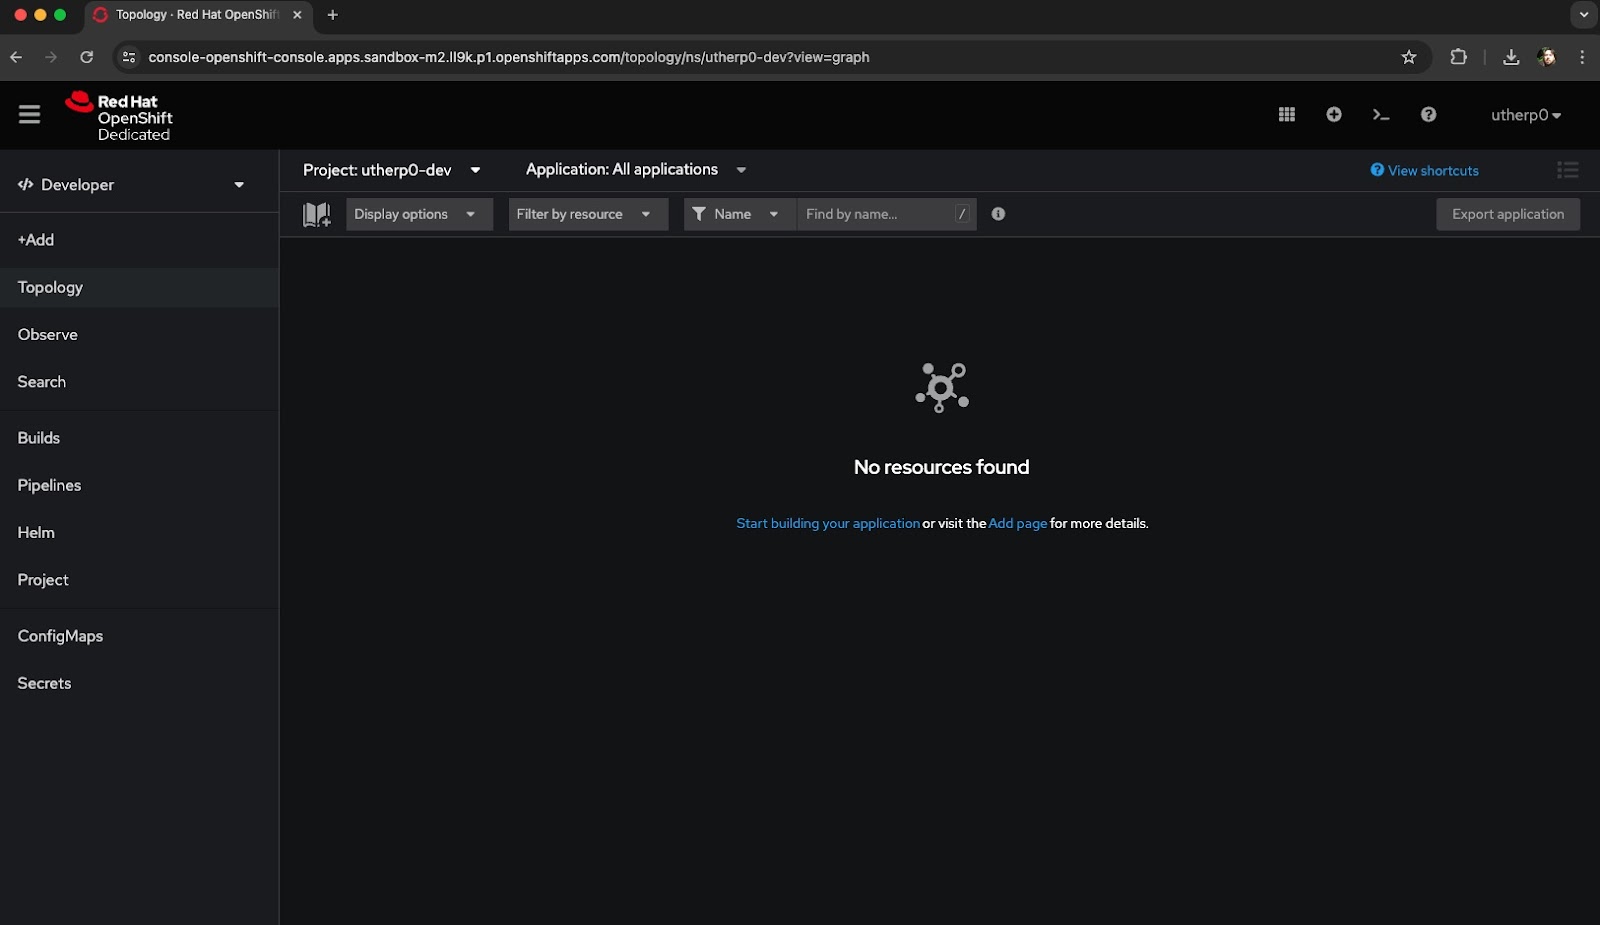
You will have access to a single project, called {username]-dev. In the example above, it is utherp0-dev. We will work exclusively within this project.
Switch to the Administrator viewpoint by selecting the Developer pulldown at the top left and choosing Administrator.
Expand the Virtualization menu component on the left and click Catalog. You will see a catalog of available VM templates. In the case of the sandbox, this is set to the range of RHEL, CentOS, and Fedora Linux distributions. In the case of a full OpenShift install, you can also choose Microsoft Windows distributions.
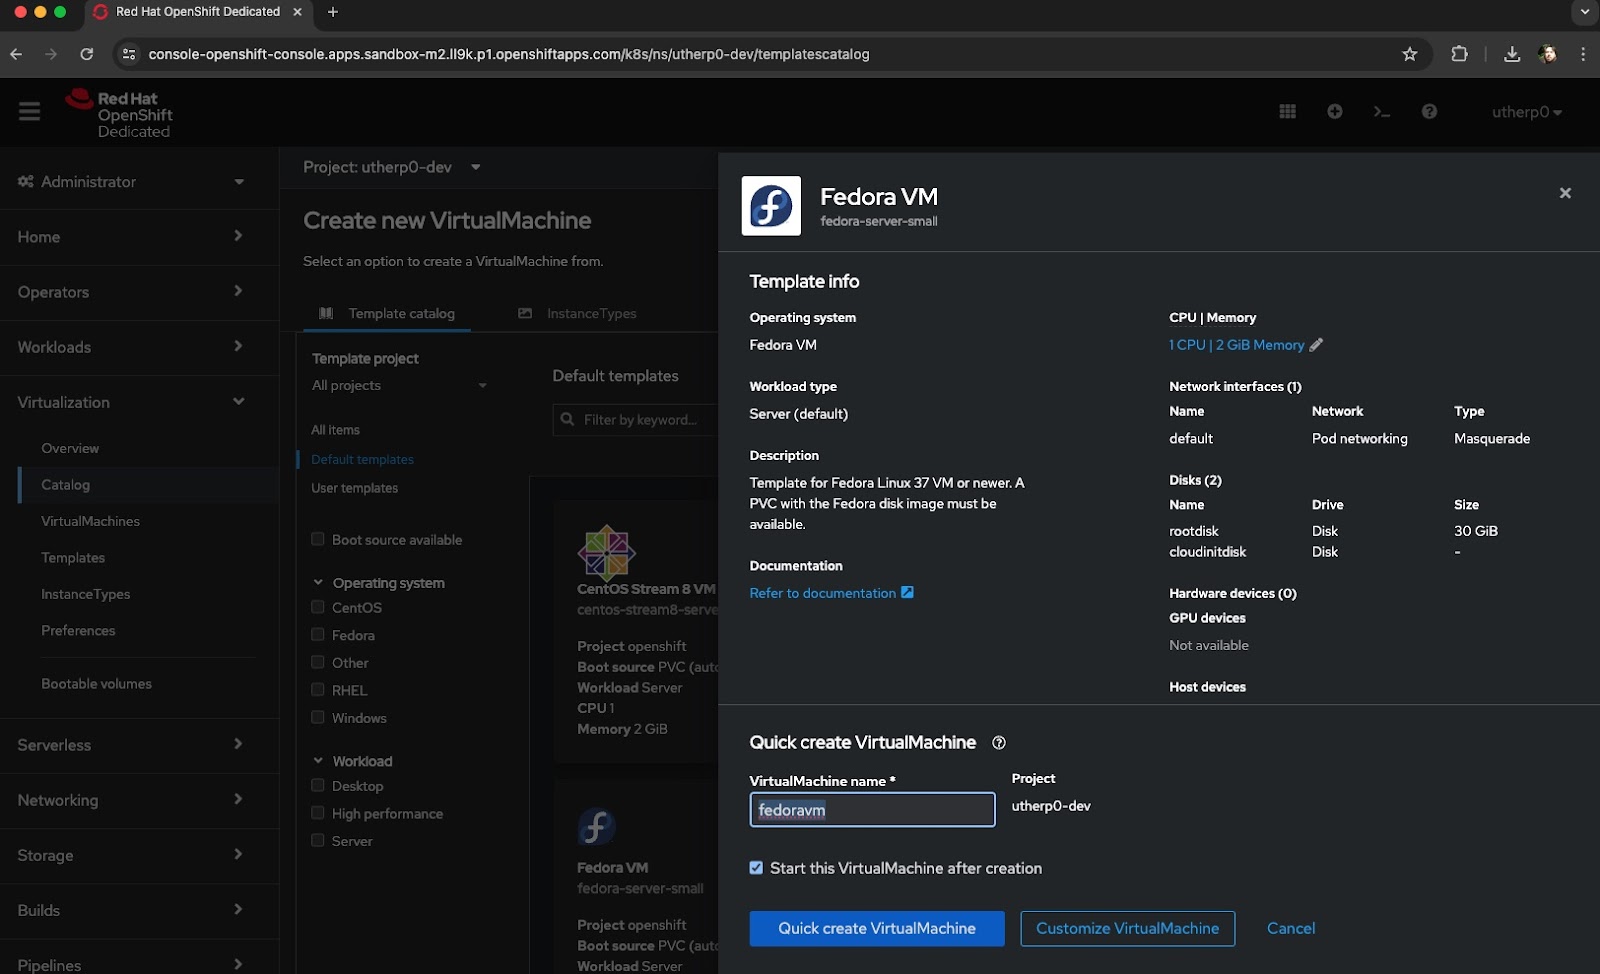
Click the tile for Fedora VM. The screen will look like Figure 2.

We are going to configure and create a VM consisting of Fedora for the example to play with. In the dialog at the bottom of the Fedora VM overview, you will see an option to Quick create VirtualMachine.
In this option, you will see a randomly generated name for the VM. For the sake of this example, we are going to change it to fedoravm (Figure 3). Do not select Quick create VirtualMachine just yet.
We want to add some customization. We are going to add a cloud-init user to allow us to quickly access and play with it. Click Customize VirtualMachine.
Expand the Optional Parameters pulldown, and set the CLOUD_USER_PASSWORD to password (Figure 4).
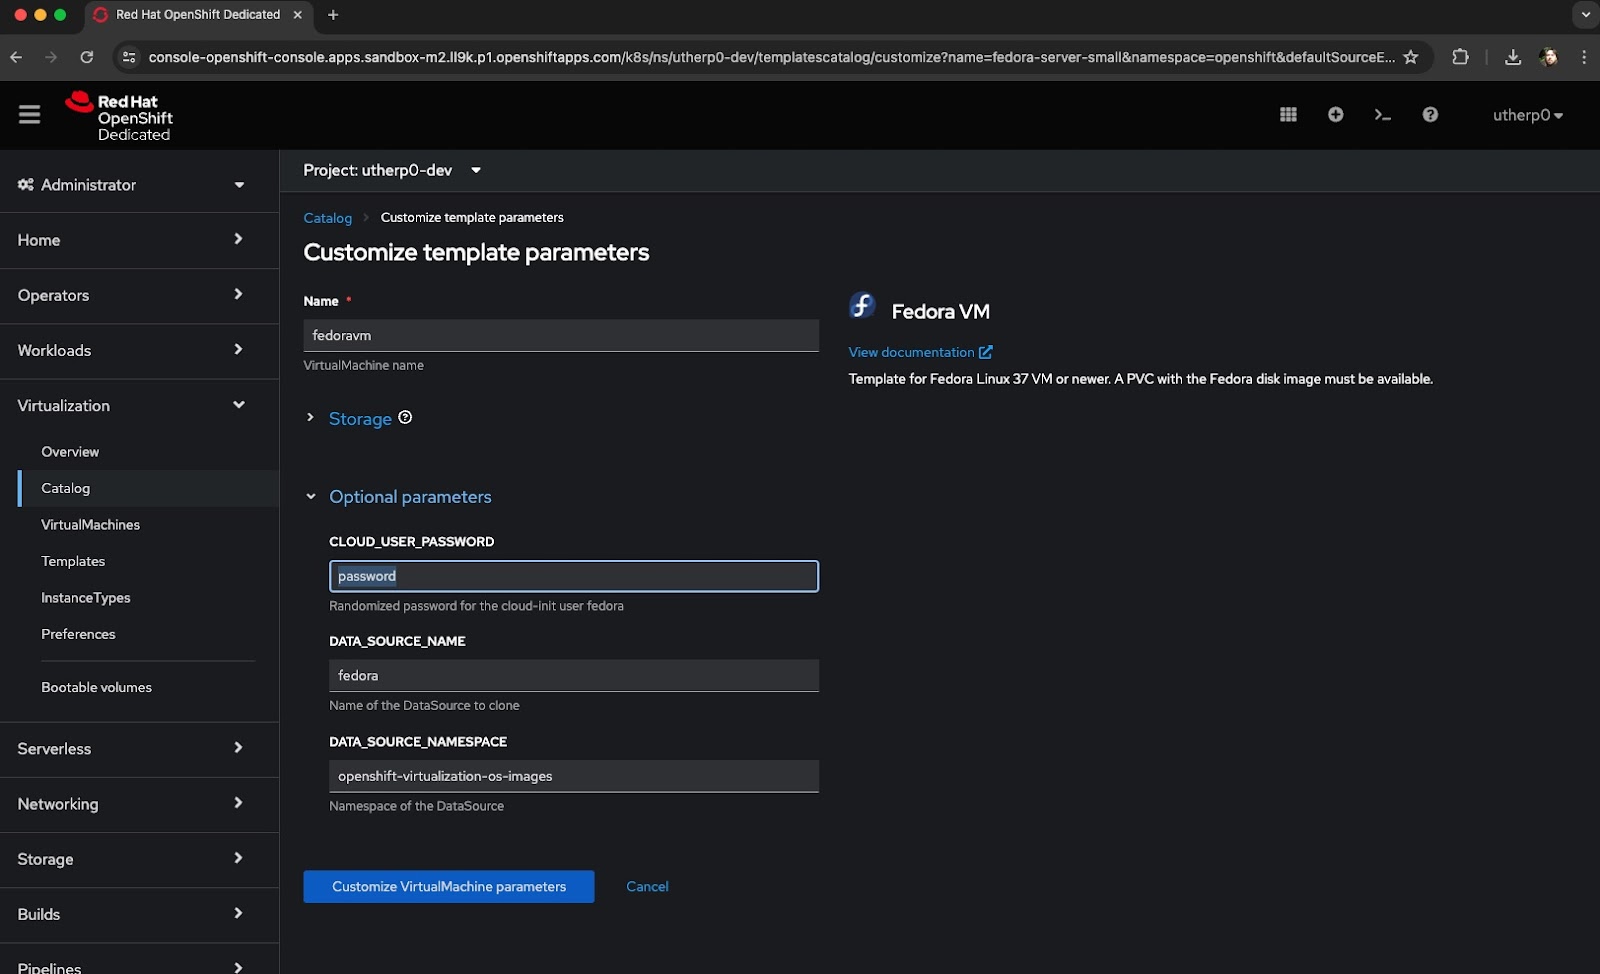
What this does is create a user as part of the VM image using the cloud-init approach. We are going to create an instance of Fedora 39 using a pre-installed disk image into the Developer Sandbox cluster. You may have noticed there was another project listed when you switched to the Administrator viewpoint. This project, openshift-virtualization-os-images, contains some pre-built ISO install images for various OS as datasources, which are file systems stored as persistent volumes. More of this in a second when we talk about how the VM actually runs.)
Select Customize VirtualMachine parameters. This takes us to a comprehensive overview page that allows us to check the values of all parameters for the VM creation. In this case, we are going to take a lot of the defaults, but when creating a VM for a specific use case this gives you a massive set of configuration options. Remember as well that Red Hat OpenShift Virtualization fully supports importing existing VMs using the Migration Toolkit for Virtualization.
Click Create VirtualMachine. The view will change to the overview for an active VM. If you watch the state of the VM, it will transition from provisioning to running. This may take a number of minutes as the VM image is created and spawned.
So what is happening here? OpenShift VMs work by using a virt-launcher pod, which is a container running on OpenShift that acts as the controller and integration point for the actual VM into the OpenShift infrastructure. It also wraps all of the VM API calls to the actual hypervisor, in this case, the worker node on which the VM is executing, where the virt-launcher pod exists as well.
The virt-launcher pod handles the attachment of the VM image, which is surfaced using the standard OpenShift persistent volume mechanisms, and the execution of the VM on the worker node. While the VM is provisioning, the image of the OS is being copied into a specific Persistent Volume (PV) and executed by the virt-launcher pod.
Whilst on the VM Overview page, click Events and watch the creation of the VM image as it occurs.
After a couple of minutes, the state will change from provisioning to running, and you now have an active VM running on OpenShift. In the Overview page, you will also see the output of the Virtual Network Computing (VNC) console, which is a method of screen sharing for VMs. This is a direct link into the active VM (Figure 5).

Summary
Congratulations. You’ve created a VM, customized it, and set up a user. Now it’s time to set up an application.
