Page
Create a new Helm chart
The first step in creating a Helm chart is to run one simple command.
Prerequisites:
- Terminal session on your computer.
- A Developer Sandbox .
Gitcommand-line interface (CLI) installed on your computer (Git - Installing Git (git-scm.com)).- Helm CLI installed on your computer (Helm | Installing Helm).
- OpenShift
ocCLI installed on your computer (Getting started with the OpenShift CLI - OpenShift CLI (oc) | CLI tools | OpenShift Container Platform 4.16).
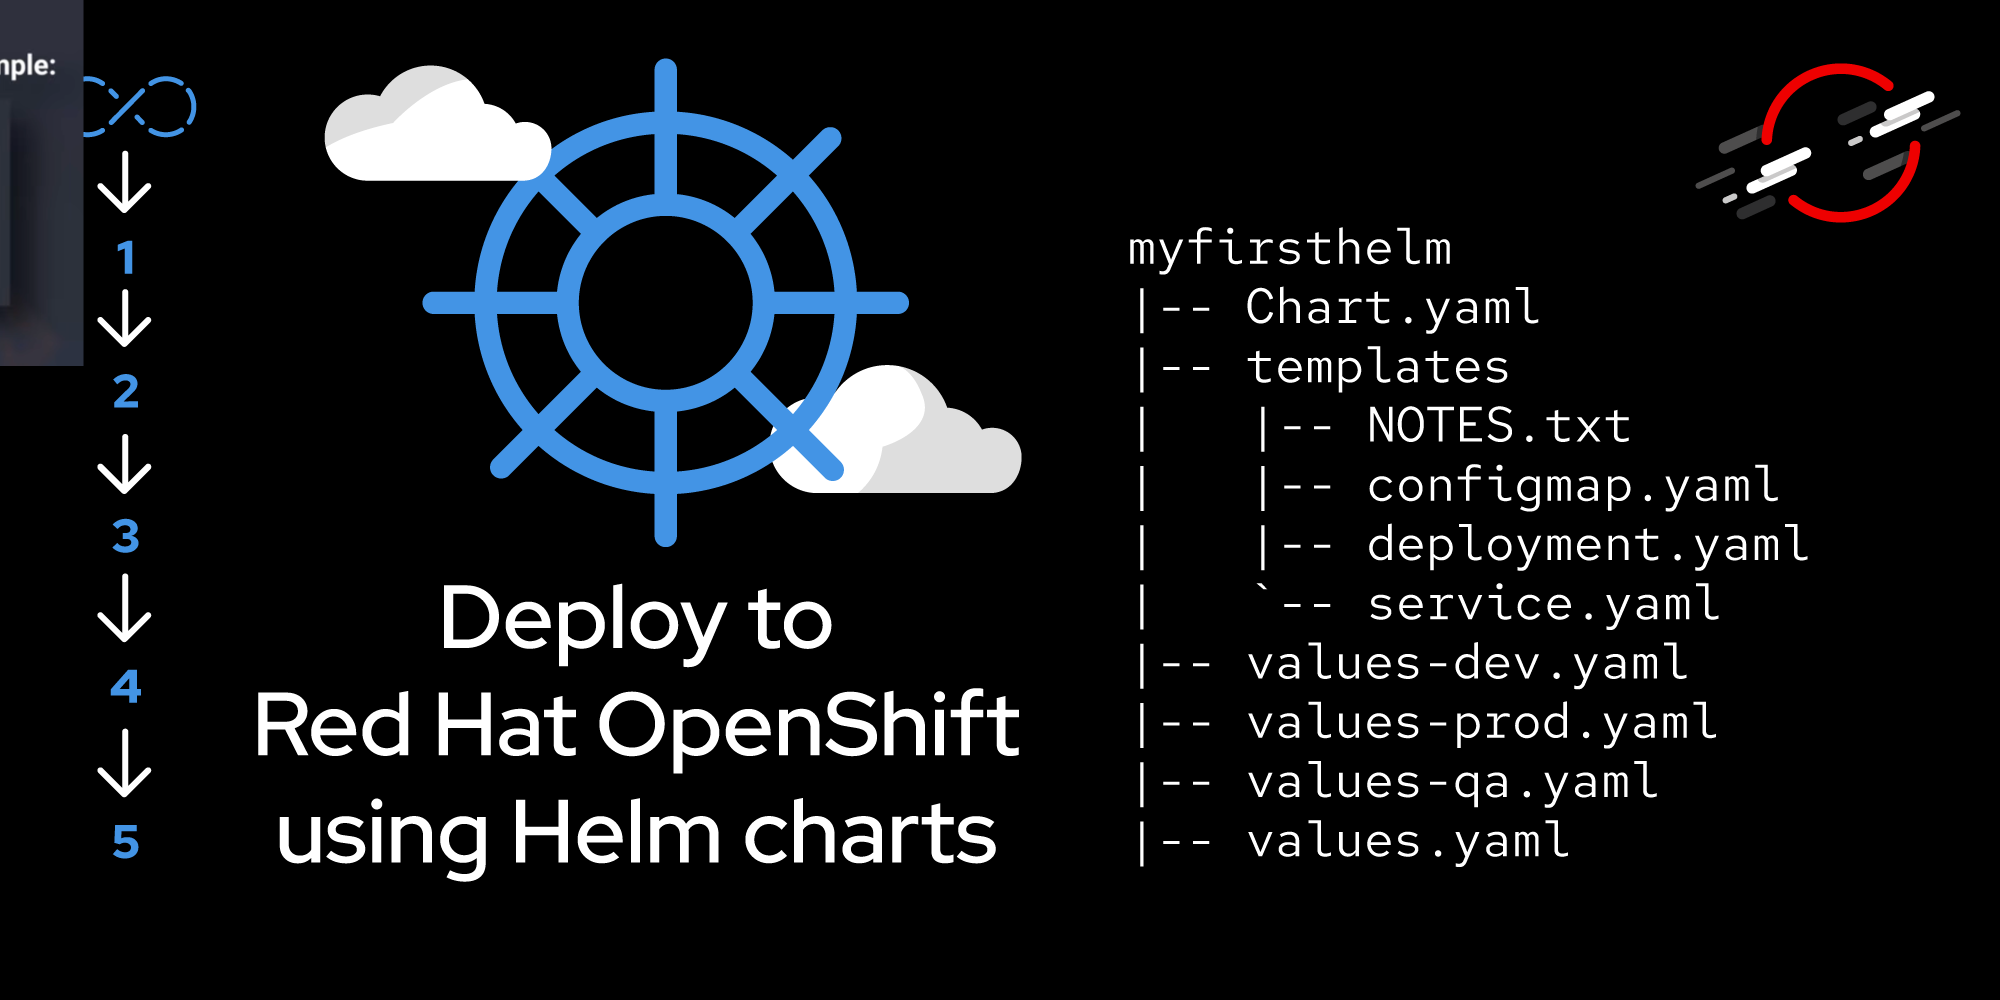
To create the Helm chart myfirsthelm in the directory of your choice, run the following command:
helm create myfirsthelmMove into the resulting subdirectory (myfirsthelm) and view the contents. Here’s an example (using Windows PowerShell):
helm create myfirsthelm
cd myfirsthelm
ls

Mode                 LastWriteTime         Length Name
----                 -------------         ------ ----
d----           8/27/2024  4:14 PM                charts
d----           8/27/2024  4:14 PM                templates
-a---           8/27/2024  4:14 PM            349 .helmignore
-a---           8/27/2024  4:14 PM           1147 Chart.yaml
-a---           8/27/2024  4:14 PM           2364 values.yaml
To begin, the key pieces are the files values.yaml and Chart.yaml and the subdirectory templates. You can ignore the rest for now. Let’s break down these pieces:
Chart.yamlfile: This file is used to describe the deployment and set the versioning. The name and version (using SemVer) entries are the only required entries; the rest are optional. You can see the entire list on the HELM documentation page.values.yamlfile: This is where the action happens. The values file contains information that is injected into your templates when you run thehelm installcommand. This means you can easily modify a deployment by changing the values file. If you open thevalues.yamlfile and take a look, you’ll immediately get an idea of how it works. Compare the contents of the file to the file./templates/deployment.yaml;you’ll be able to figure out how it works. Let’s take a look at an example.
Near the top of the ./templates/deployment.yaml file, you have the following:
spec:
  {{- if not .Values.autoscaling.enabled }}
  replicas: {{ .Values.replicaCount }}
  {{- end }}
If you peek inside the values.yaml file, you’ll see the referenced entries:
autoscaling:
  enabled: false
  minReplicas: 1
  maxReplicas: 100
  targetCPUUtilizationPercentage: 80
Given those two pieces of information, combined with your software developer skills, you can figure out what’s happening. Since autoscaling is not enabled, the replica count will be injected into the results when running the helm install command (more on that command later).
Inside the deployment.yaml file, you’ll notice tokens that are not a reference to .Values. For example:
{{- include "myfirsthelm.selectorLabels" . | nindent 6 }}These values are pulled from template files (in the ./templates subdirectory). The default template file, _helpers.tpl, was automatically created when you ran the helm create command. For this particular example (myfirsthelm.selectorLabels), you’ll find the referenced template value in the _helpers.tpl file:
{{/*
Selector labels
*/}}
{{- define "myfirsthelm.selectorLabels" -}}
app.kubernetes.io/name: {{ include "myfirsthelm.name" . }}
app.kubernetes.io/instance: {{ .Release.Name }}
{{- end }}
The .Release.Name value comes from the name you assign—or select to have automatically assigned—when you install the Helm chart (again, the helm install command).
