Page
Upgrade via Helm chart
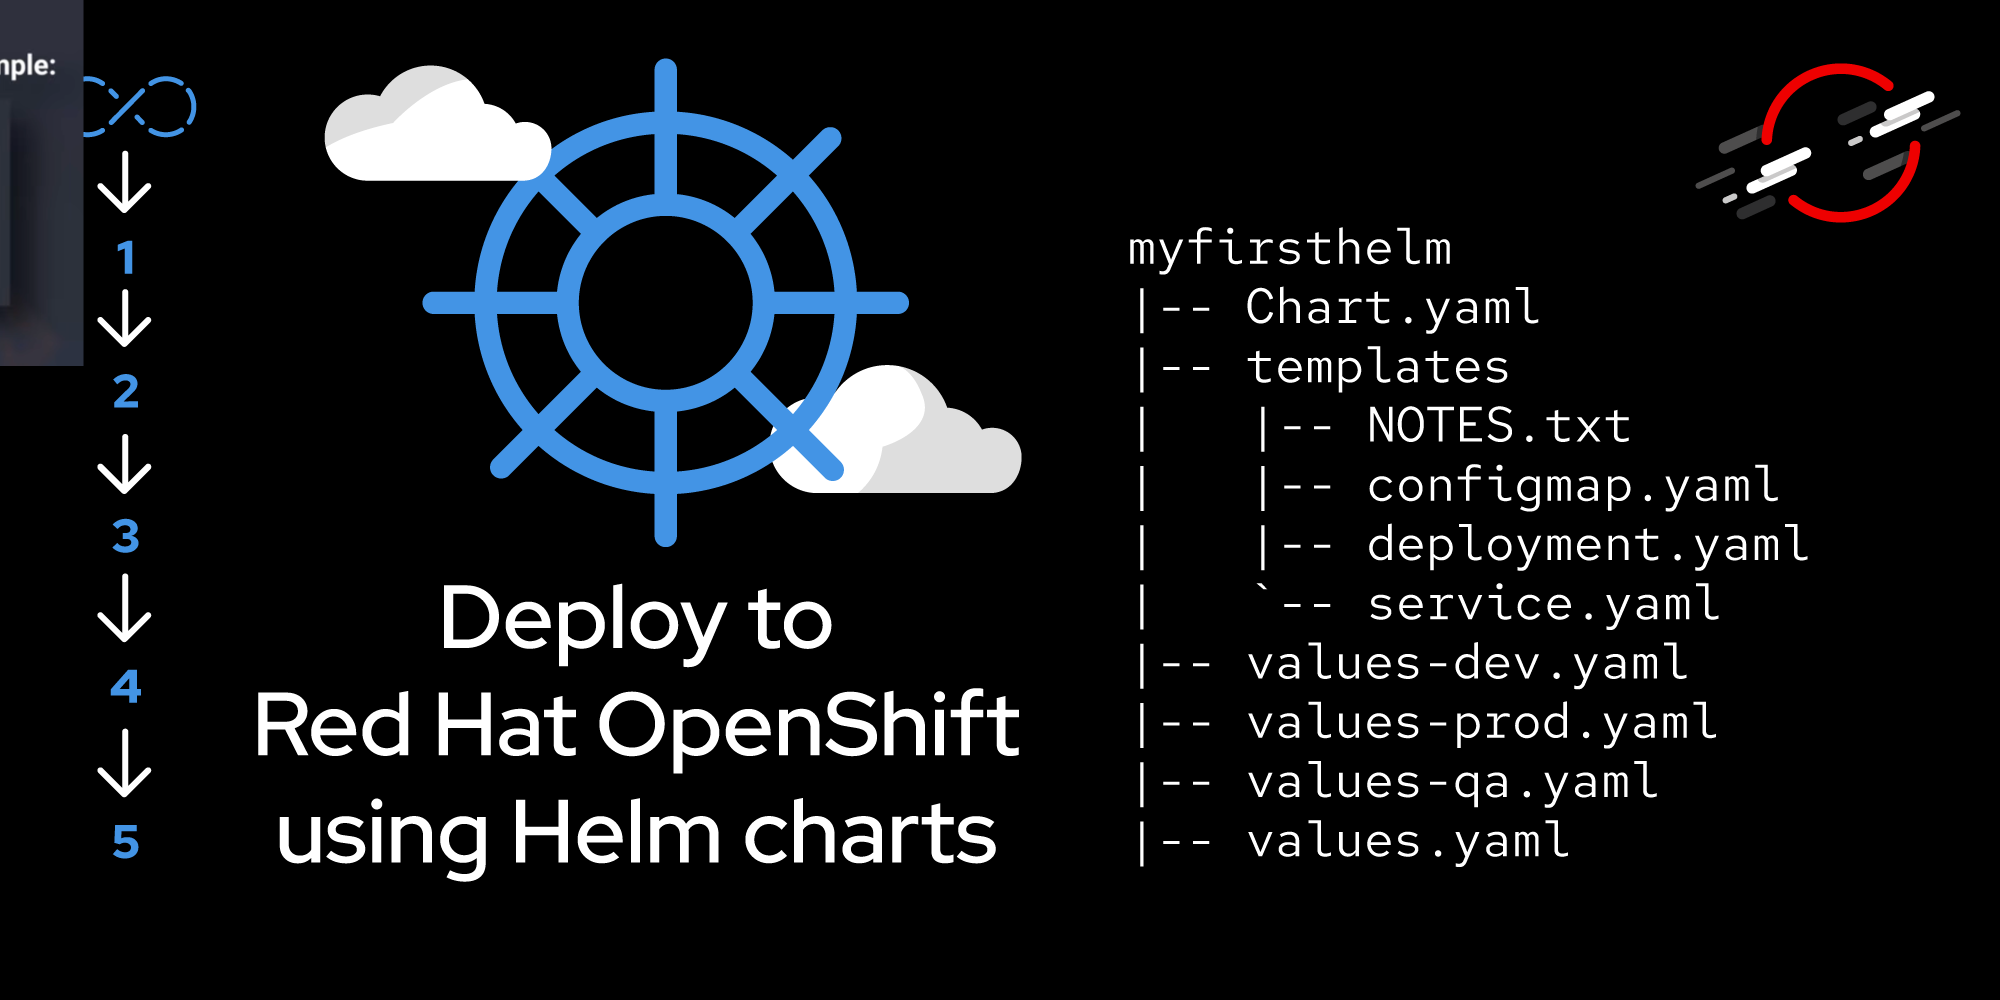
In the previous lesson (Installing a Helm chart), you used the helm install command to create two apps and a database. With the app up and running, the next exercise is to upgrade the code.
Prerequisites:
- Completion of the previous lessons.
In this lesson, you will:
- Upgrade the code via Helm.
If you don’t have the code from the previous lesson, get it from GitHub:
git clone https://github.com/redhat-developer-demos/qotd-helmAlso, if you haven’t installed the code, install the Helm package located at: ./qotd-system/charts/qotd-system-0.1.0.tgz.
In this lesson, the front-end website will be replaced with an entirely different website, using a different image. The new image is quay.io/rhdevelopers/qotd-frontend:openshiftfordotnetdevelopers.
One way to approach the upgrade is to specify the new image at the command line, referencing the entry in the values.yaml file. In this case, that entry is at qotdwebsite.image. The current value is quay.io/rhdevelopers/qotd-website-nodejs:latest. To override the value and perform an upgrade, at the top of your Git code directory structure (probably /qotd-helm), use the following command:
helm upgrade qotd-system .\qotd-system\charts\qotd-system-0.1.0.tgz --set qotdwebsite.image=quay.io/rhdevelopers/qotd-frontend:openshiftfordotnetdevelopersThis upgrade will occur very quickly. When you then open the qotd-frontend website, you’ll see a completely different website. If you need to see the site working completely, you’ll need to navigate to the /settings.html page and update the URL to the back end (with the /quotes/random route added to it).
While this works well and is quick, it tends to violate a key principle: the code no longer represents the state of the system. That’s a huge red flag. In other words, don’t do this.
The proper way is to change the code, create a new package, and run the helm upgrade command using the new package. To do this:
- Change the value of the q
otdwebsite.imagevalue in thevalues.yamlfile (this was covered in Lesson 1). - Change the value of the version in the
Chart.yamlfile (Lesson 1). - Create the Helm package (
qotd-system-0.2.0.tgz) (Lesson 2).
Then, use this command:
helm upgrade qotd-system .\qotd-system\charts\qotd-system-0.2.0.tgzBonus: Run the following two commands:
helm list
helm history qotd-system
You have upgraded your system with one Helm command.
