Page
Pack a Helm chart
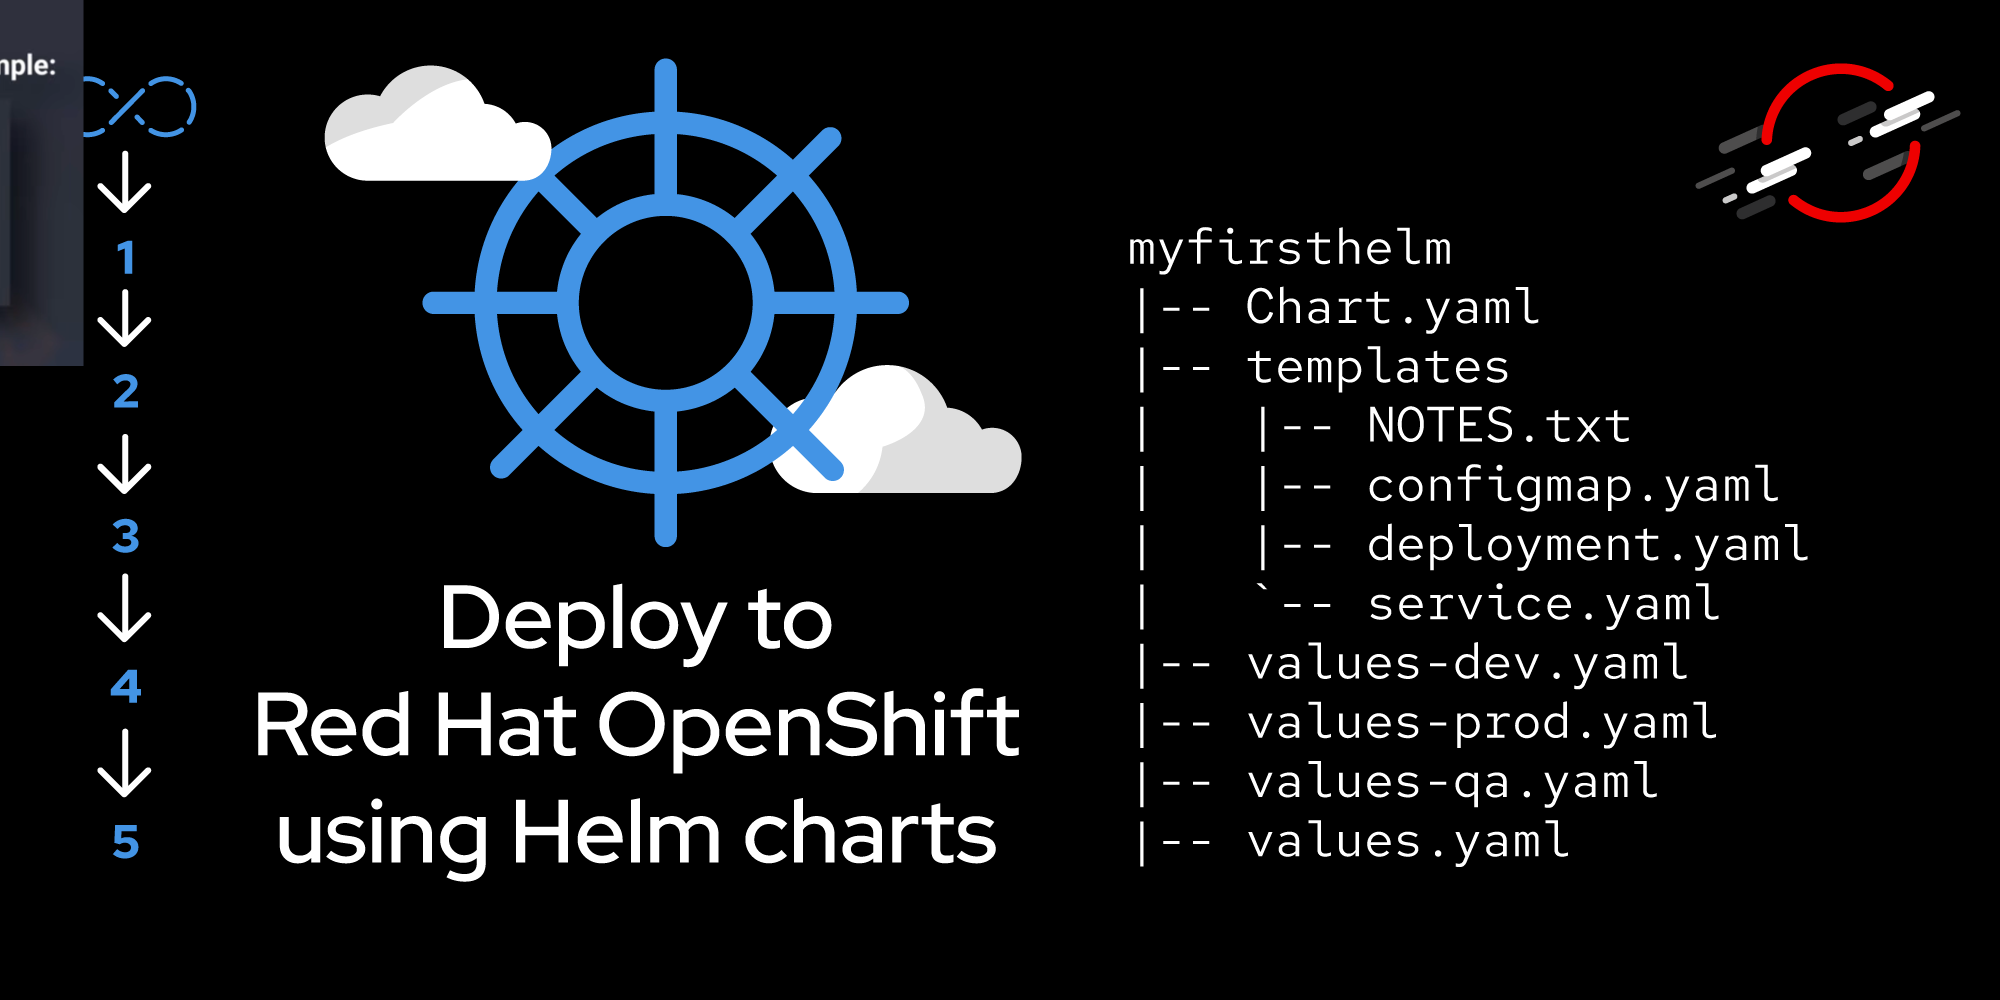
After running the helm create myfirsthelm command, you have a valid Helm templating instance with the necessary files and directory structure. Let’s now move on to packing the Helm chart.
Prerequisites:
- Completion of Lesson 1.
In this lesson, you will:
- Pack a Helm chart.
Due to security restrictions, this Helm template instance will not work on your Developer Sandbox instance. To continue with this lesson, run the following command to get this lesson’s GitHub repo to your computer:
git clone https://github.com/redhat-developer-demos/qotd-helm
Move into the directory and then the ./qotd-system subdirectory beneath it. You will have the following directory contents:
Mode                 LastWriteTime         Length Name
----                 -------------         ------ ----
d----           8/15/2024  2:52 PM                charts
d----           8/27/2024 12:04 PM                configmap
d----           8/27/2024 12:04 PM                templates
-a---           8/15/2024  2:52 PM            349 .helmignore
-a---           8/15/2024  3:55 PM            127 Chart.yaml
-a---           8/27/2024 12:33 PM            436 values.yaml
Move into the ./templates directory and you will have the following:
Mode                 LastWriteTime         Length Name
----                 -------------         ------ ----
d----           8/27/2024 12:04 PM                tests
-a---           8/15/2024  3:18 PM           1874 _helpers.tpl
-a---           8/22/2024  1:07 PM           2723 db-data.yaml
-a---           8/21/2024 12:14 PM             31 NOTES.txt
-a---           8/22/2024 12:50 PM           1299 post-install-hook-1.yaml
-a---           8/22/2024 12:50 PM           1331 post-install-hook-2.yaml
-a---           8/22/2024 12:14 PM           1354 postgresql-deployment.yaml
-a---           8/20/2024  1:01 PM            209 postgresql-pvc.yaml
-a---           8/20/2024  1:44 PM            289 postgresql-secret.yaml
-a---           8/20/2024 12:51 PM            173 postgresql-service.yaml
-a---           8/27/2024 12:38 PM           1214 qotd-backend-deployment.yaml
-a---           8/27/2024 11:21 AM            421 qotd-backend-route.yaml
-a---           8/27/2024 11:18 AM            358 qotd-backend-service.yaml
-a---           8/16/2024  2:52 PM            779 qotd-website-deployment.yaml
-a---           8/16/2024  2:46 PM            420 qotd-website-route.yaml
-a---           8/16/2024  2:00 PM            262 qotd-website-service.yaml
Notice that it contains multiple deployments, services, and routes, in addition to a PVC, a secret, a data file, and two post-install hooks. One of the advantages of using Helm charts is that multiple objects can be deployed or updated in one operation.
Start by observing the contents of the file values.yaml. The entries should be self-explanatory and give you a good idea of how flexible a Helm chart can be:
# Default values for Quote of the Day system.

qotdbackend:
  image: "quay.io/rhdevelopers/qotd:db"
  dbpassword: "reallylongpassword99!"
  dbstorage: "8Gi"
  dbhost: "postgres"
  dbuser: "qotd"
  dbname: "quotesdb"

qotdwebsite:
  image: "quay.io/rhdevelopers/qotd-website-nodejs:latest"

frontend:
  replicas: 1

backend:
  replicas: 1

route:
  enabled: true

service:
  port: 8080
Note that storing secrets such as passwords should be done in a secrets object and not in your values.yaml file. I put everything here to emphasize the flexibility of the values file.
Go ahead and look inside the other YAML files to get an idea of how this all ties together. As one small example, check out the environment variables for the back-end deployment:
         env:
            - name: USE_DB
              value: "true"
            - name: DBPASSWORD
              value: {{ .Values.qotdbackend.dbpassword | quote }}
            - name: DBHOST
              value: {{ .Values.qotdbackend.dbhost | quote }}
            - name: DBUSER
              value: {{ .Values.qotdbackend.dbuser | quote }}
            - name: DBNAME
              value: {{ .Values.qotdbackend.dbname | quote }}
As you can see, the values in the file values.yaml are being used here to populate environment variables. As you look at other objects in the ./templates subdirectory, you will see where values are being used as well as content that will be supplied from the _helpers.tpl template.
Check out the contents of the two files post-install-hook-1.yaml and post-install-hook-2.yaml. Pay particular attention to the annotations: sections: These denote the files to run after the install, and the order in which they run. As you view the contents, notice where values are hard-coded into the files and consider changing them to use the values.yaml file.
Also take a look inside the NOTES.txt file. The contents of this file are displayed at the terminal after the package is installed. Variable values can be used here as well.
The next step is to put all of the pieces of the Helm chart into one tidy little package. To do this, the helm package command is used. Navigate to the repo’s directory (probably qotd-helm) and run this command:
helm package ./qotd-systemThe helm CLI will locate the files in the qotd-system directory and create a helm package, which is a zipped tar file. Here’s an example:
helm package .\qotd-system\
Successfully packaged chart and saved it to: C:\Users\dschenck\src\qotd-helm\qotd-system-0.1.0.tgz
The next step isn’t necessary but is a good idea. Move the resulting file into the /charts subdirectory:
mv qotd-system-0.1.0.tgz ./qotd-system/chartsNote that the -0.1.0 which was appended to the chart name, is used from the version: entry in the Chart.yaml file.
You now have created a Helm chart and packaged it.
